Modified: October 19, 2021
The list of the subject(s) is displayed at the top of the screen. Once you choose a subject, a list of books will be displayed underneath it.
 Pic 01: Curriculum View
1. View a Textbook
The screen will display the selected textbook on a screen, as shown below. A page navigator is available if you wish to navigate to a specified page number directly. If you want to go back to the Subject Selection Page, click on the arrow placed on the top-left corner of the screen.
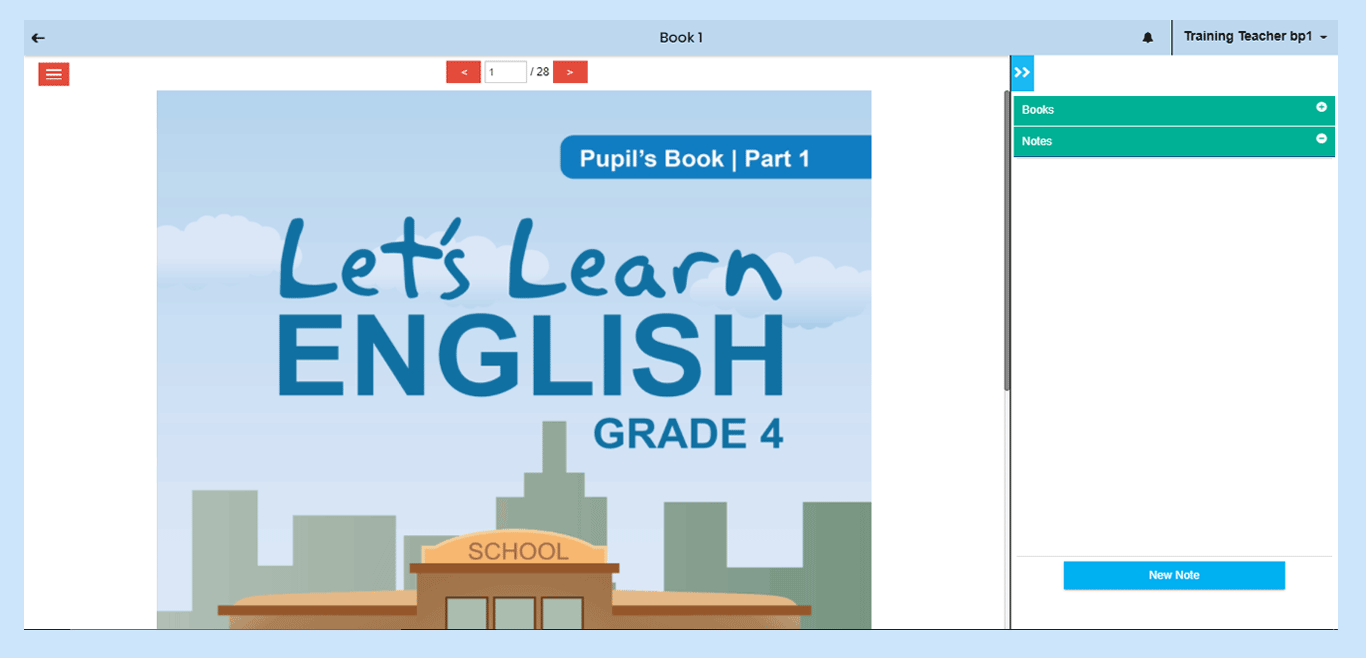 Pic 02: Text Book
1.1 Expand or Collapse the book
The textbook can be viewed in expanded screen mode as well. This view is obtained by clicking on the blue “expand and collapse arrow” on the top right corner of the screen.
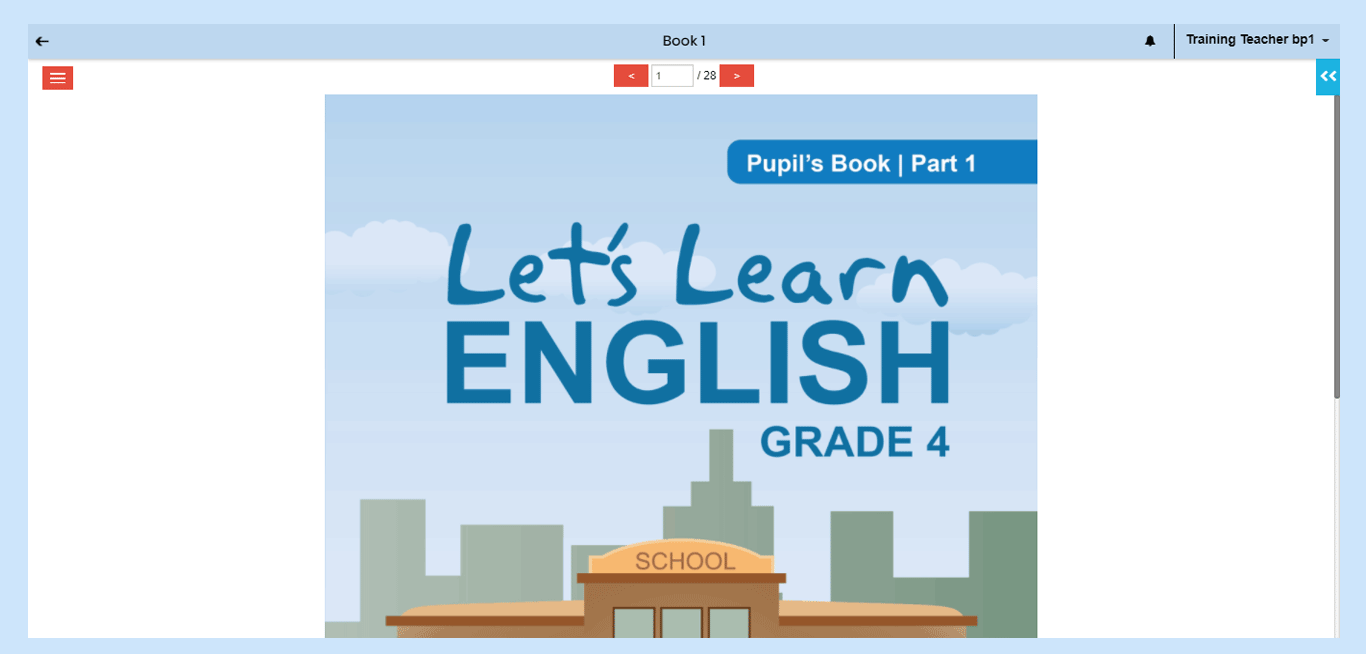 Pic 03: Expand the book
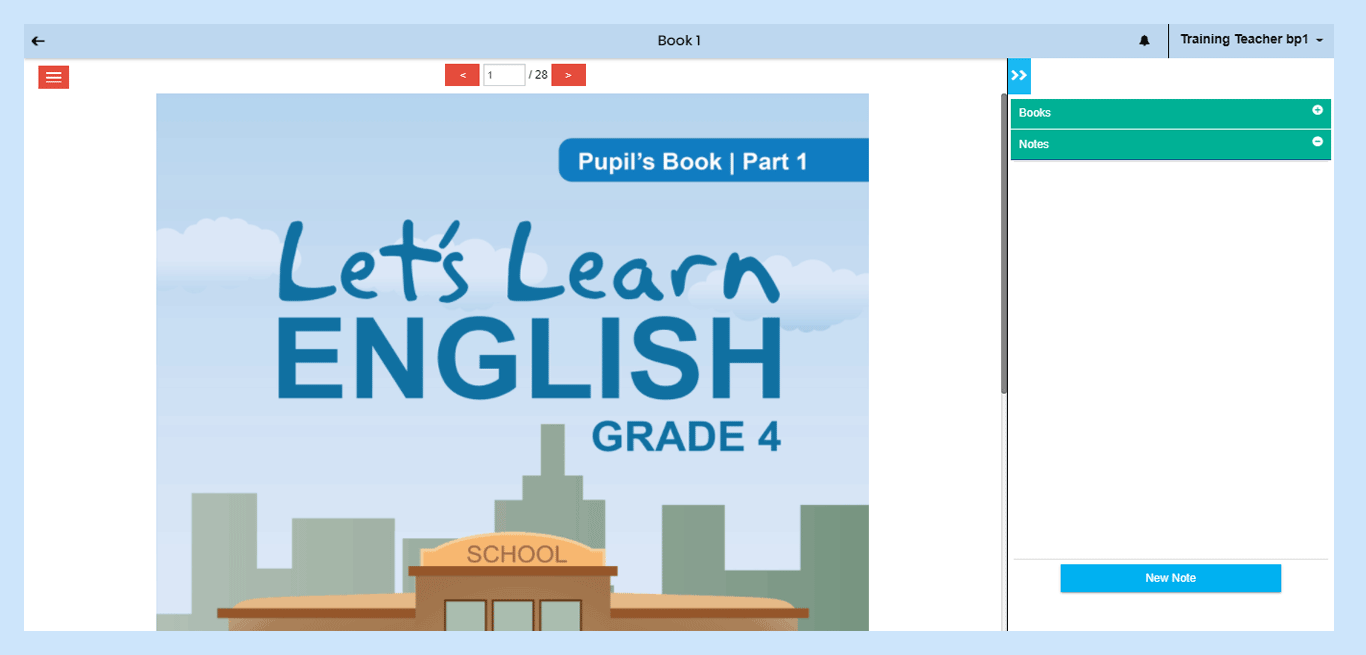 Pic 04: Collapse the book
 | NOTE: If you wish to insert a Note for the given textbook, click on the “New Note” button at the right bottom of the screen. A textbox will appear with options to Cancel and Save the note. Here type required text and click on “Save” to save the note. |
Created and Saved notes will appear in the view in a green dialog box.
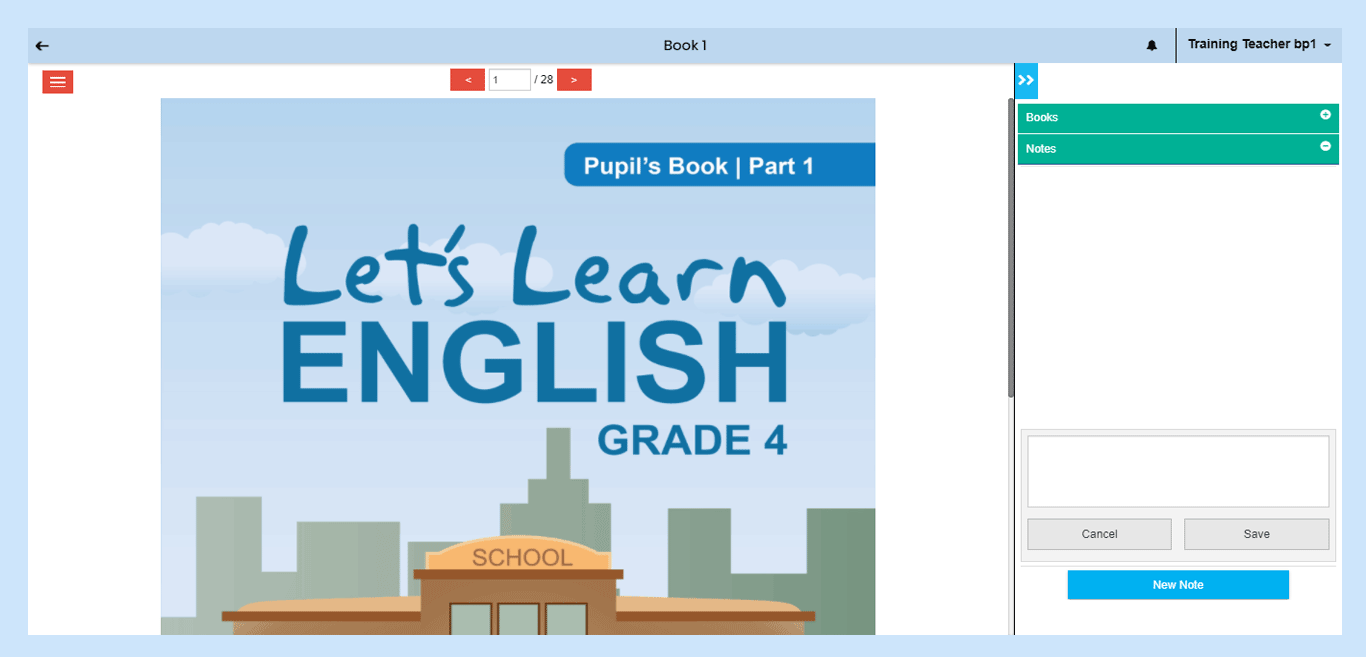 Pic 05: Creating a new note
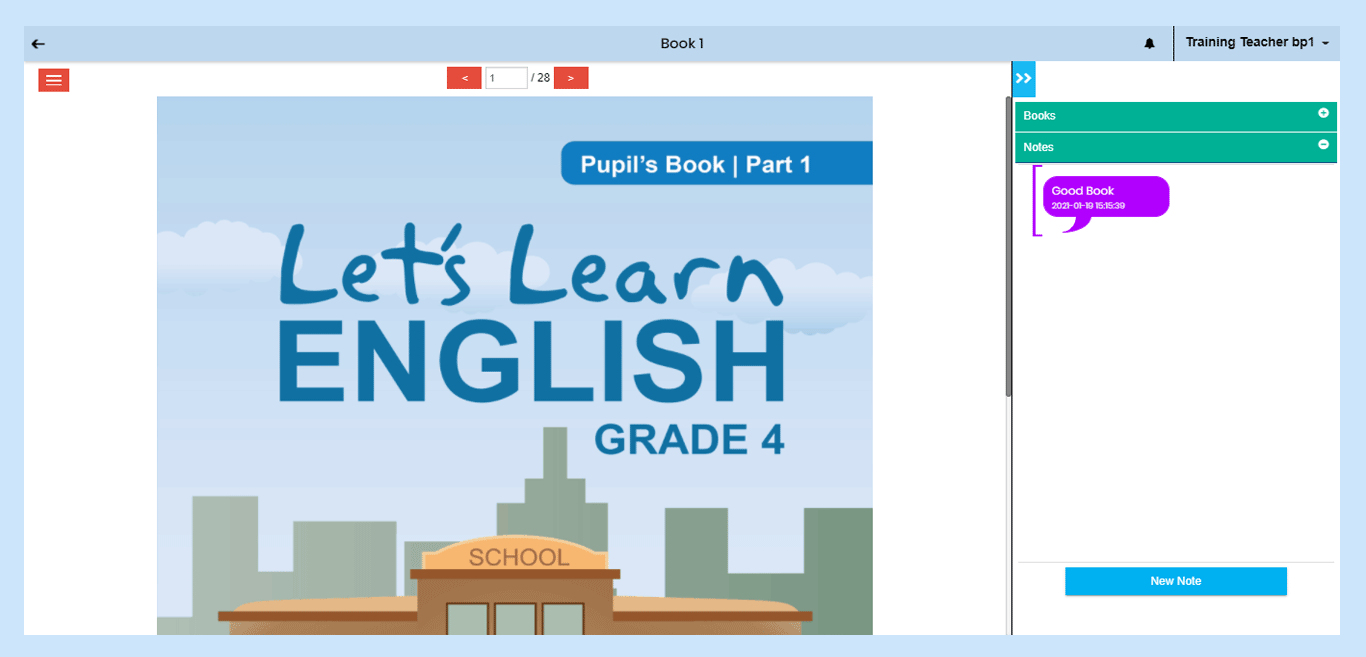 Pic 06: Saving a new note
If you want to navigate to another book, click on “Books” which is on the top right side of the screen, above “Notes”.
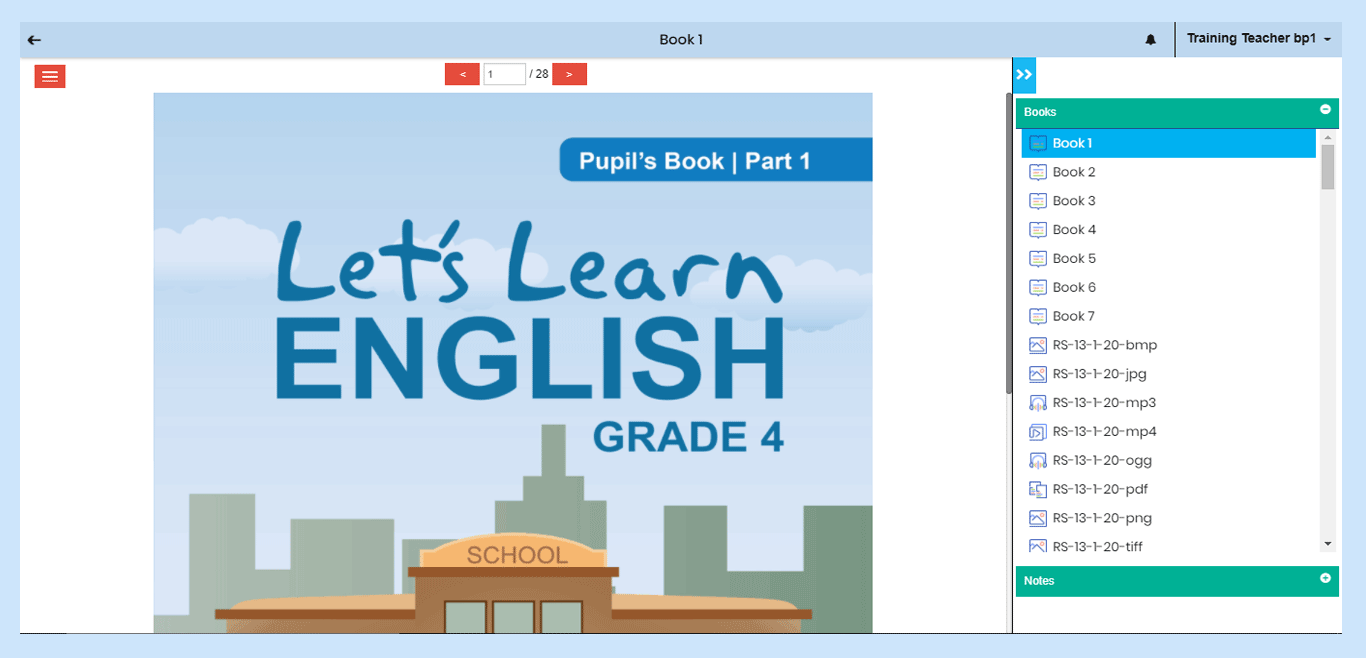 Pic 07: Navigating to another book
2. Audio
If any page has an audio lesson(s), it is represented by a “Headset” icon. You can listen to the audio by clicking on the icon.
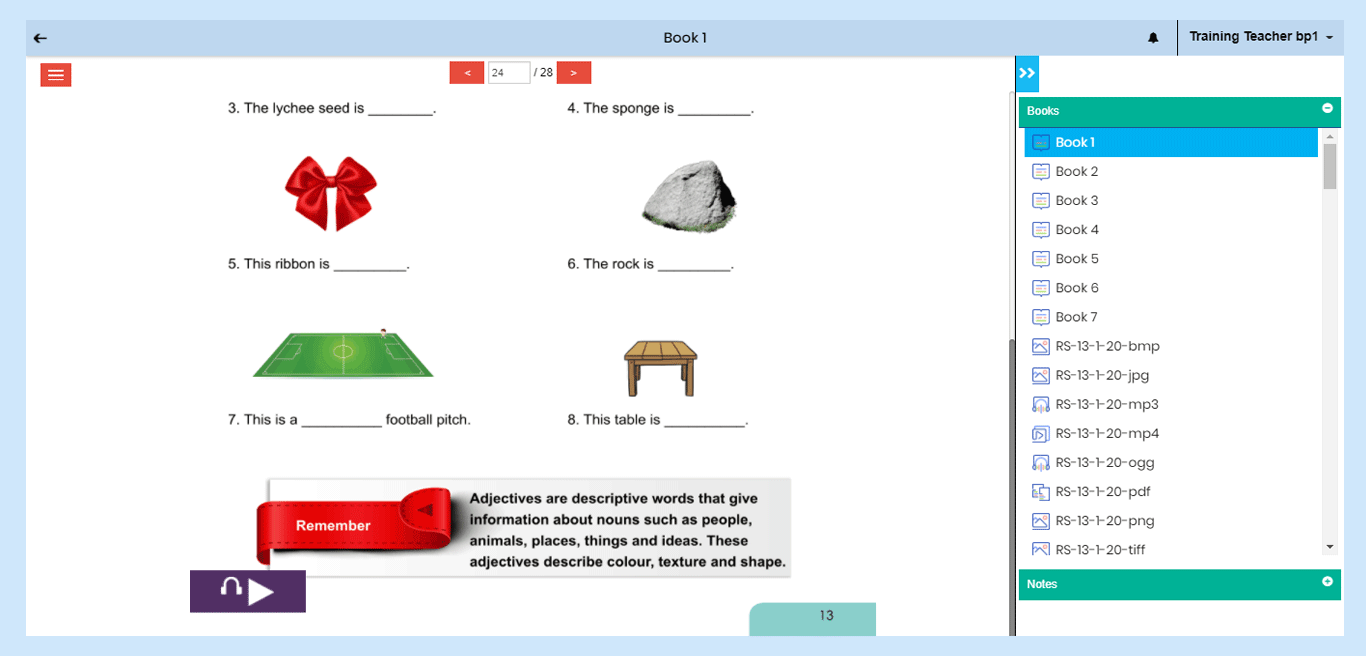 Pic 08: Audio
3. Video
If any page has a video lesson(s), it is represented by a “Video Player” icon. Click on the icon to view the video resource. The video will play in the default mode, i.e., either landscape/portrait. To view the video in full screen, click on the expand arrow which is available at the bottom-right corner of the screen.
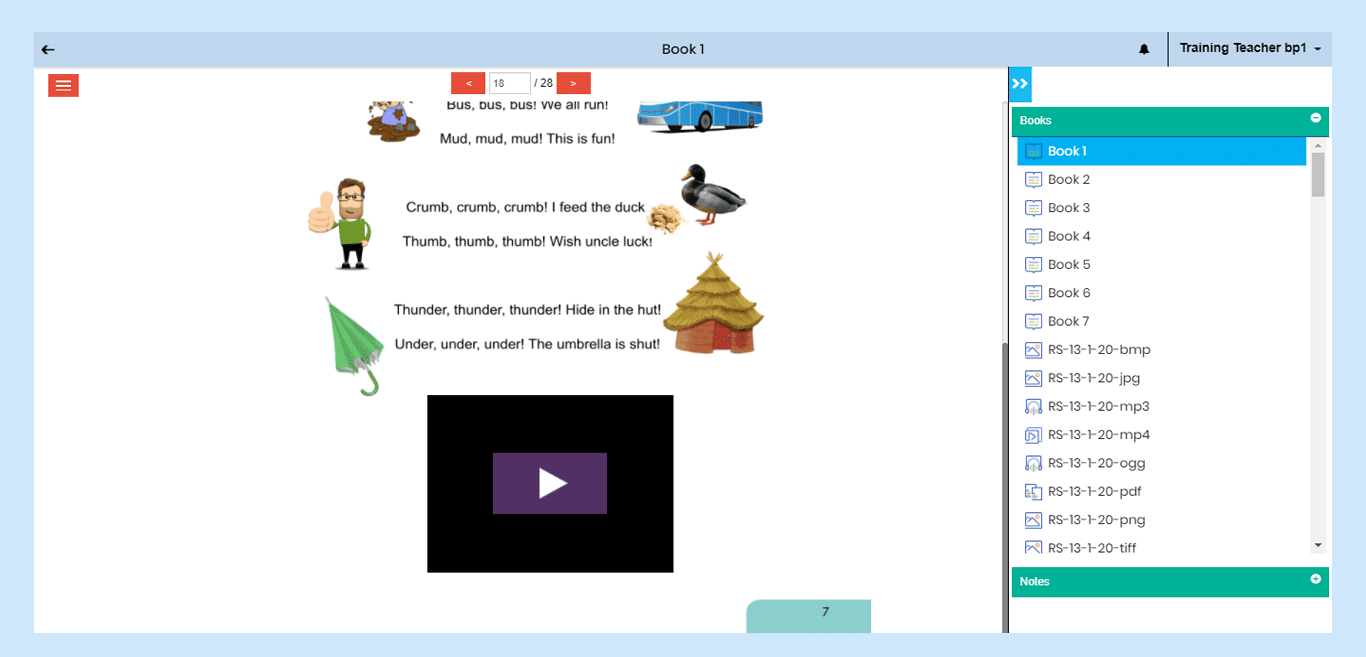 Pic 09: Video
4. Widget
If any page has activity, it is represented with an “Index Finger” icon. Click on it to start the activity and use the “drag” and “drop” feature to finish the activity.
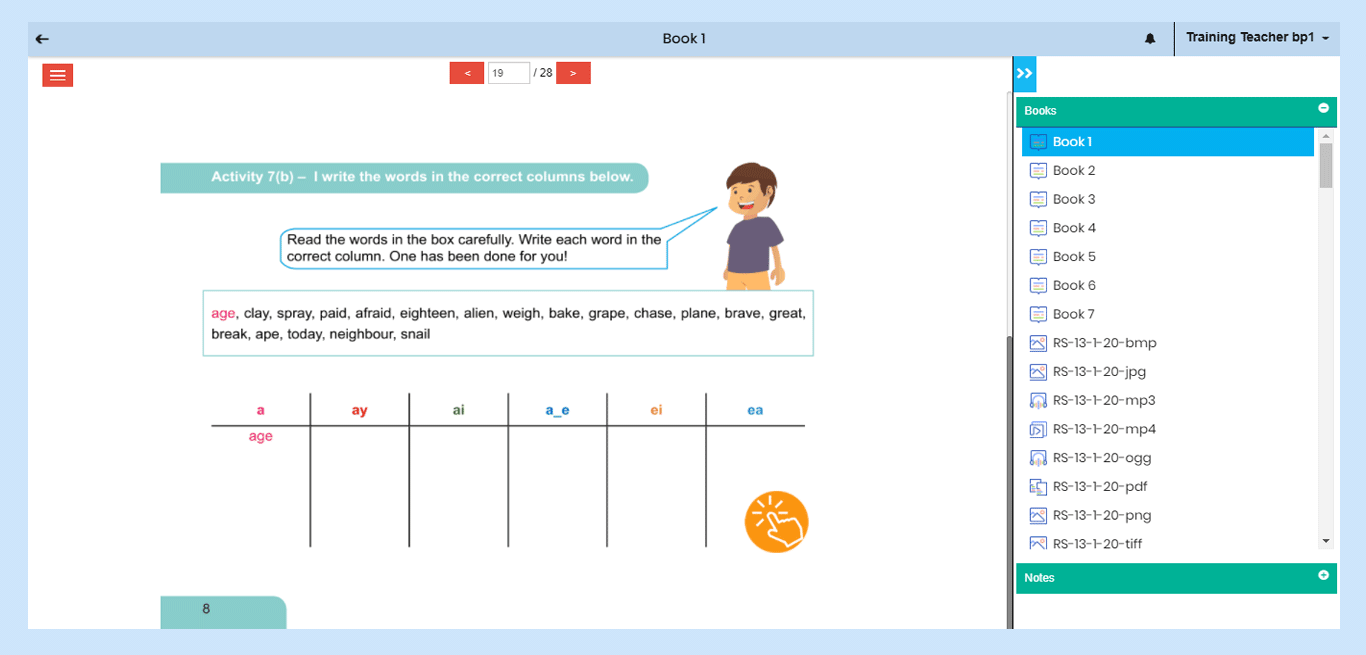 Pic 10: Widget
5. Table of Contents
Click on the “List” icon at the top-left corner of the screen to view the “Table of Contents” pane. Use this feature to navigate directly across all the resources page wise as indicated in the list.
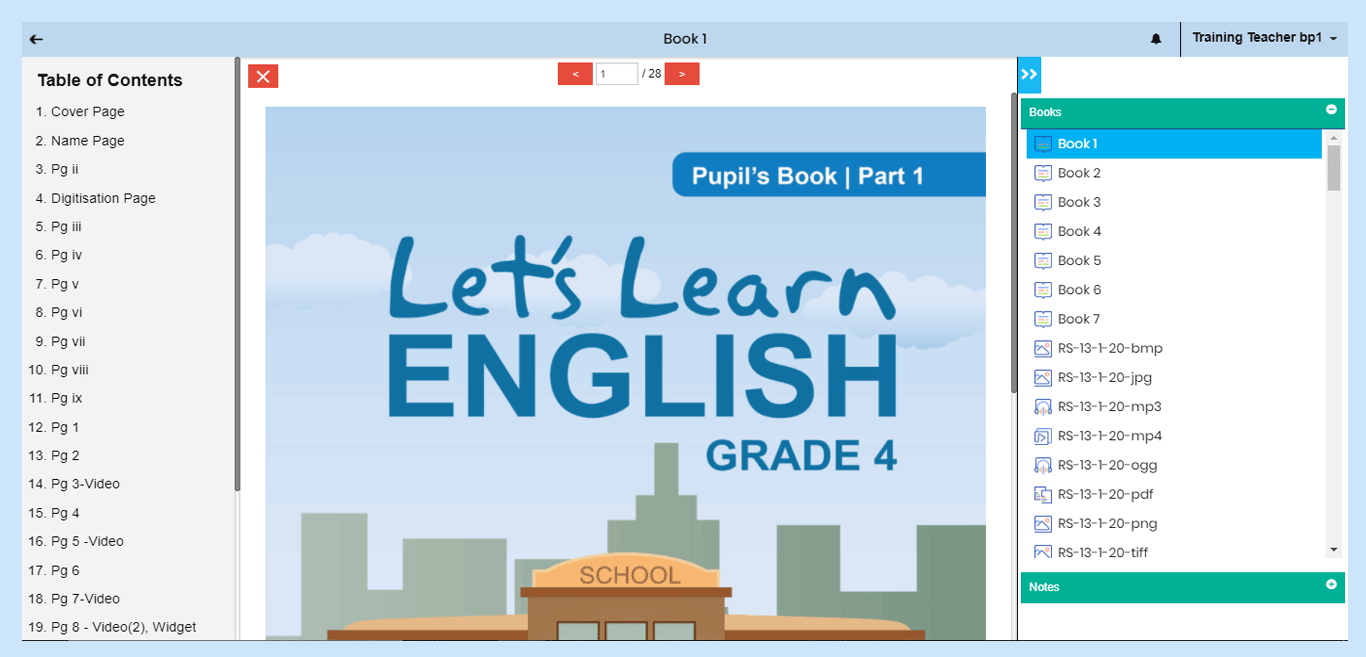 Pic 11: Table of Contents
Example: When you click on a page with name e.g., “14. Pg. 3-Video”, you will be directed to that page.
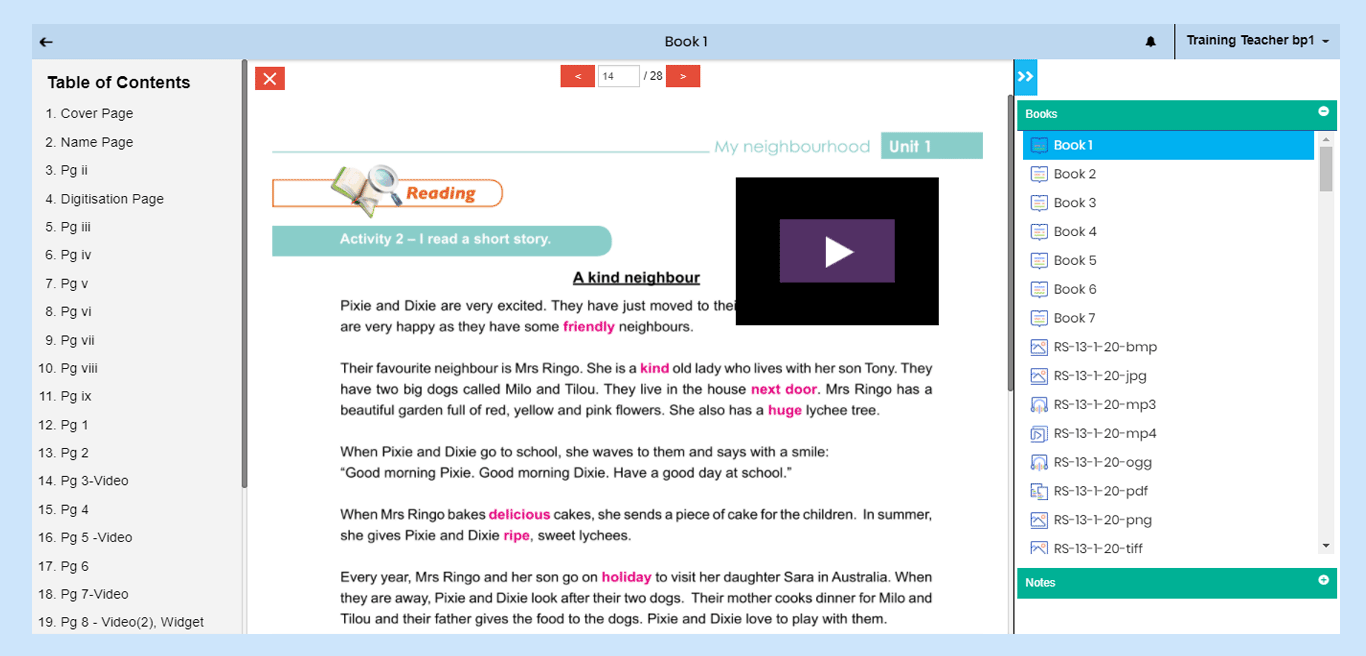 Pic 12: Selecting a Page from Table of Contents
6. Additional Resources
If any content is uploaded, it will be displayed and available for access in the “Curriculum View” under the “Additional Resources” section. This feature is accessible for both, teachers as well as students.
A “search-box” is also available for quick search of the uploaded resource by name.
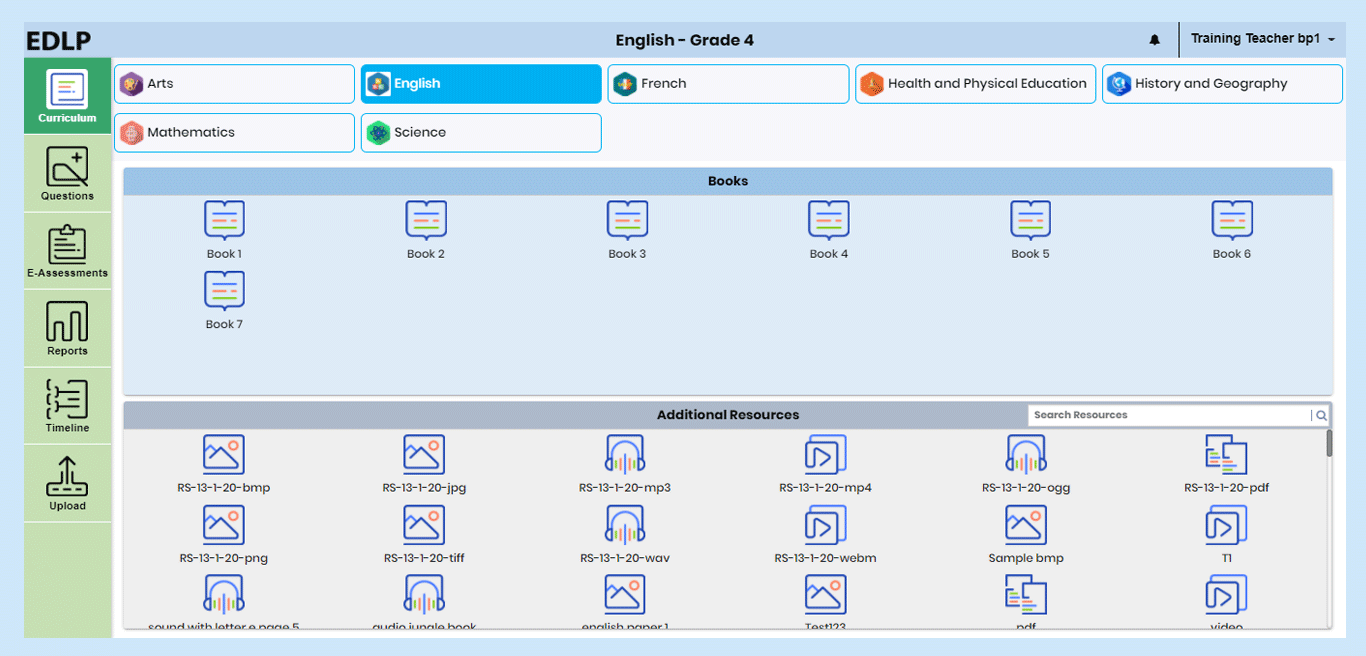 Pic 13: Teacher content

