


Modified: October 19, 2021
Connecting the Laptop to Wireless Router
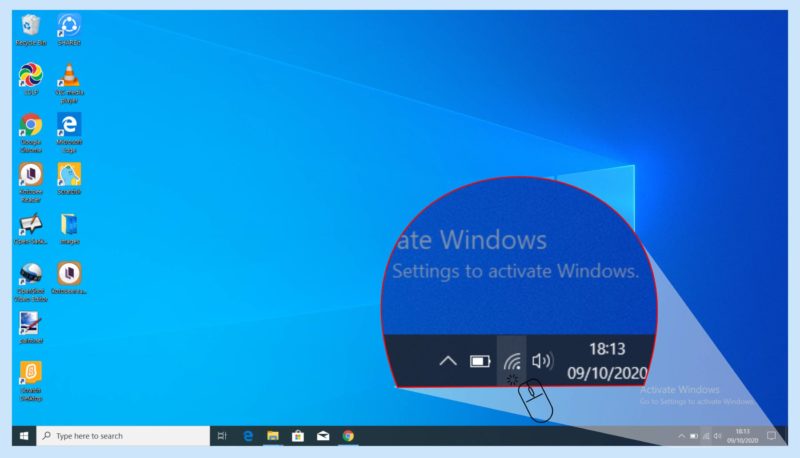
Step 01: Click the WiFi icon. It’s the series of curving lines in the far-right side of the task bar.
Step 02: Click on the school network from the list of available networks
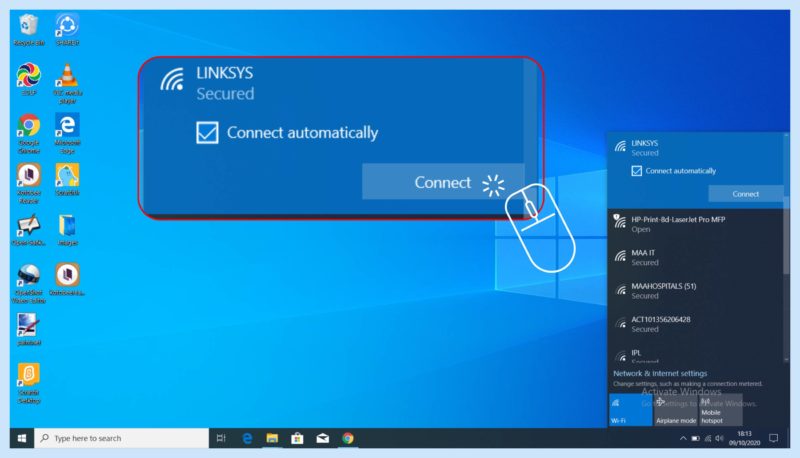
Step 03: Click Connect.
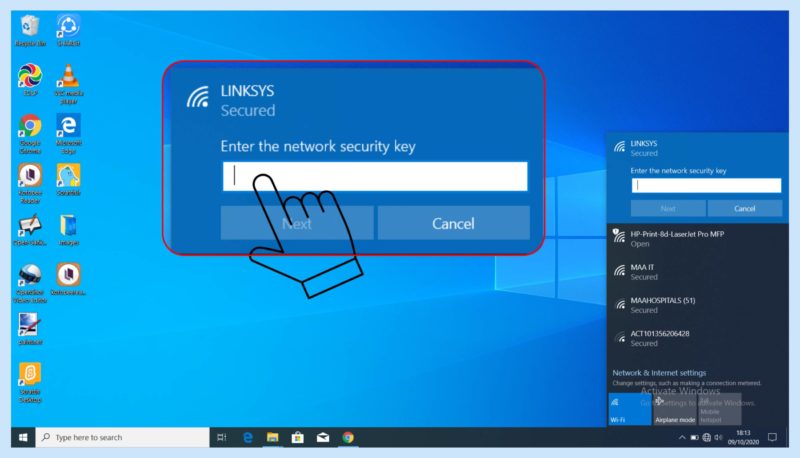
Step 04: Enter the network’s password in the text box below the “Enter the network’s security key” heading.
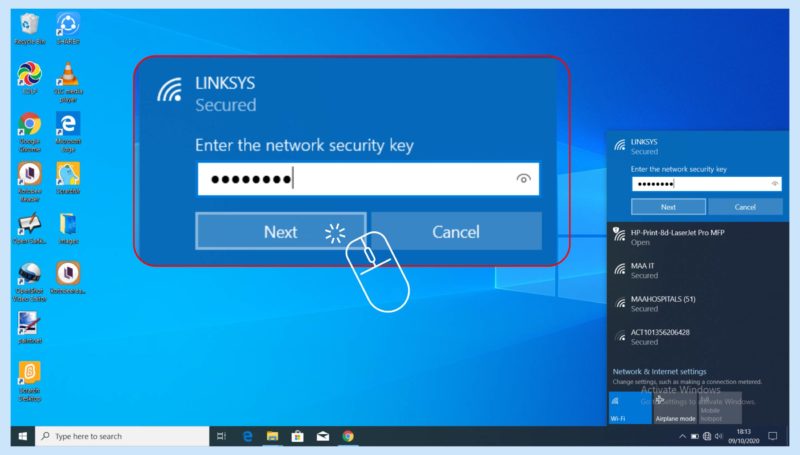
Step 05: Click Next.

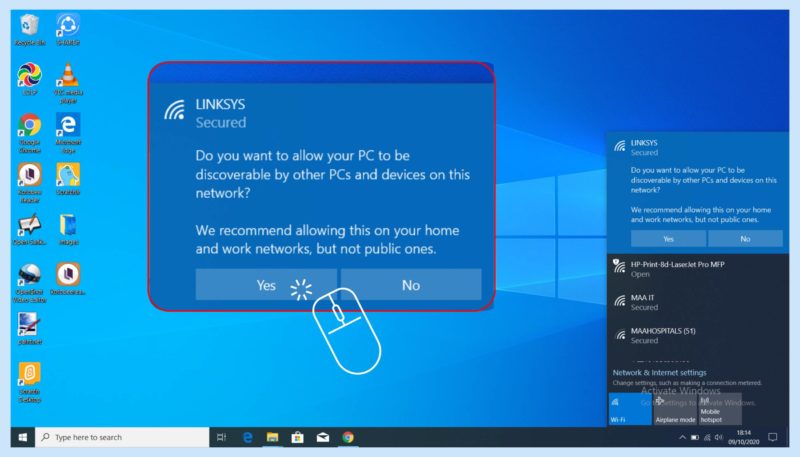
Step 06: Select a network privacy option by choosing Yes option.
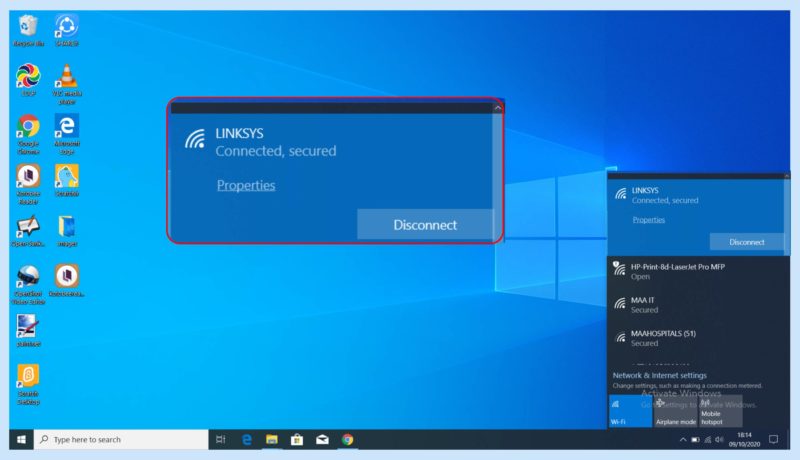
Connected, secured is displayed when the network is connected successfully.